
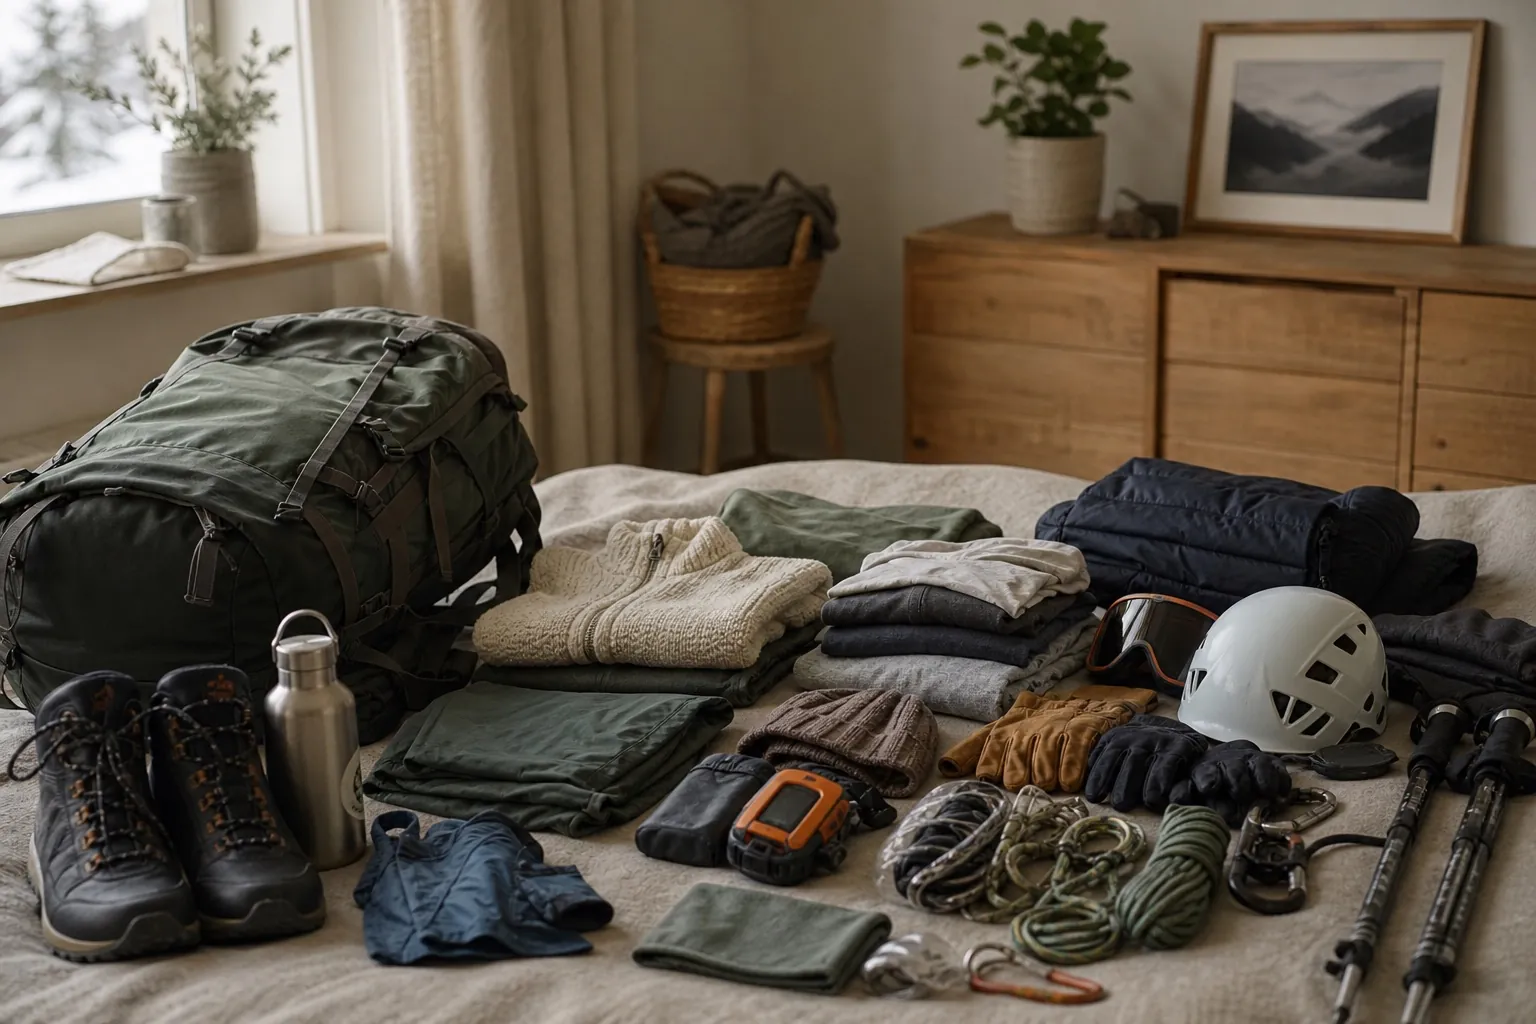
What you pack for the mountains in winter depends on conditions, slope angle, altitude and the kind of route. An easy walk in a valley needs different kit from a steep, icy trail or avalanche terrain. The basics are warm layers, protection from wind and wet, the right footwear, a head torch, a map, a phone, a first aid kit, an NRC foil blanket (emergency blanket), a flask and spare food. Microspikes, crampons, an ice axe, snowshoes and avalanche safety kit should be chosen for the specific route, and only if you know how to use them.
A ready winter mountain packing list
A ready winter mountain packing list (part 1 of 2)
- Winter clothing
- thermal underwear
- moisture-wicking base layer
- warm layer, such as fleece
- extra insulated jacket for stops
- jacket against wind and precipitation
- trousers suited to winter conditions
- extra layer for the legs if conditions need it
- warm hat
- neck gaiter or face cover
- gloves for walking
- spare, warmer gloves in a waterproof bag
- hiking socks
- spare socks
- gaiters
- sunglasses
- goggles if wind and snow need them
- Footwear and grip gear
- winter boots suited to the route
- socks matched to your boots
- spare socks
- gaiters
- microspikes, for suitable routes that are not too steep
- crampons, when the terrain and your skills call for them
- ice axe, in terrain that calls for one
- helmet, if the nature of the route calls for it
- poles with winter baskets
- snowshoes, for deep enough snow and suitable terrain
- repair kit for the gear you use
- Rucksack and emergency kit
- rucksack suited to the planned route
- rain cover
- waterproof bags for clothes and electronics
- NRC foil blanket
- head torch
- spare batteries or a way to charge
- whistle
- repair tape
- small multitool or repair tool if you can use it
- spare part for your specific gear
A ready winter mountain packing list (part 2 of 2)
- Navigation and communication
- charged phone
- power bank
- charging cable
- paper hiking map
- map downloaded offline
- compass if you can use it
- Ratunek app
- saved numbers 985, 601 100 300 and 112
- route plan left with someone close
- GPS watch or device optional
- Food and drink
- flask with a hot drink
- spare water
- a fuller, cold-proof meal
- snacks you can eat with gloves on
- extra food in case of delay
- food and medicines for individual needs
- bag for wrappers and rubbish
- First aid kit
- regular medicines
- plasters and compresses
- elastic bandage
- roll of tape
- protective gloves
- triangular bandage
- small scissors
- NRC foil blanket
- card with illnesses, allergies and medicines
- kit sized to the number of people
- Skin and eye protection
- high-SPF sun cream
- lip balm with protection
- sunglasses with UV protection
- goggles in strong wind and snow
- spare face cover
Dress in layers. On a steep climb it is easy to overheat, and damp clothing makes you lose heat faster when you stop. Do not wait until you are sweating heavily to take a layer off, and do not wait until you start to feel cold to put one on.
Keep an extra jacket for stops in your rucksack, in a waterproof bag. The layer you walk in may be damp and not warm enough once you stop for a rest, a gear problem or an accident.
Do not treat microspikes and crampons as substitutes for each other. TOPR (the Tatra Volunteer Rescue Service) explains that microspikes improve grip on icy surfaces but are not meant for steep terrain where a fall is a risk. Crampons, used with an ice axe, are for moving in demanding high-mountain terrain and take practice. TOPR explanations on crampons, microspikes and ice axes.
Before you leave, check that your crampons are compatible with your boots. Do not do the fitting for the first time on the trail. Practise putting the gear on while wearing gloves, and in conditions where a fall is not a danger.
Winter days are short, and snow and ice can slow you down a lot. Take a head torch even if you plan to be back before sunset. A phone torch does not leave your hands free and uses the battery you need to call for help.
Keep your phone and power bank somewhere protected from damp and hard cold. A GPS track alone is not enough for safe navigation. In winter, trail markings can be covered, and other people's footprints do not necessarily lead the right way.
In frost some foods go hard, and lids and wrappers get harder to handle. Check beforehand that you can open and eat your food without taking your gloves off for long. Split your food into your main supply and an emergency portion that you do not eat straight away.
Before you set off, check that the mountain hut is open and actually on your chosen route. You still need your own food and drink, because in winter the approach can take much longer than summer times suggest.
Keep your first aid kit somewhere easy to reach and protected from damp. First aid knowledge matters more than the number of random products.
Snow reflects light, and the sun can be strong even in low temperatures. Apply protection before you set off, not only once irritation appears.
Microspikes, crampons or snowshoes?
The choice comes from the terrain and conditions, not from the mere fact that it is winter.
Microspikes
Microspikes can improve grip on an icy but not very steep path. They are not the right gear for steep terrain where a slip means a long fall. They must fit the size and shape of your boot.
Crampons and an ice axe
Crampons and an ice axe are gear for demanding, steep, icy terrain. Buying them does not prepare you to use them safely. You need the right boots, correctly fitted gear, and training in moving, self-arrest with an ice axe and judging conditions.
If you are planning your first demanding winter trip, choose a course run by a competent instructor, or go with a qualified guide.
Snowshoes
Snowshoes help in deep, loose snow on terrain suited to that way of moving. They do not replace crampons on a hard, steep, icy slope. Nor do they solve the problem of avalanche danger.
When do you need avalanche safety kit?
Avalanche safety kit (the avalanche ABC) includes:
When do you need avalanche safety kit?
- avalanche transceiver worn on the body
- avalanche probe
- metal avalanche shovel
Every person in a group entering avalanche terrain should have a full set and know how to use it. One transceiver or one shovel for the whole group is not effective rescue kit.
Gear does not replace avoiding the danger. You need the skills to assess terrain, read the bulletin, choose a route, search for a buried person, probe and dig. Practice has to be repeated, as watching the instructions once is not enough.
Current bulletins for the Tatras are published by TOPR, and for regions covered by GOPR (the Mountain Volunteer Rescue Service) by Lawiny GOPR. A bulletin describes the general danger in a region and does not replace a local assessment of a particular slope.
What to take for the night in winter
What to take for the night in winter
- a dry set of clothes
- extra socks and gloves
- sleepwear
- light shoes or flip-flops
- toiletries
- towel, if the accommodation does not provide one
- chargers
- spare medicines
- bags for wet gear and clothes
- boot-drying accessories, if they can be used safely
- repair kit for the gear you use
- things required by the hut rules
Before booking, check whether you can dry clothes and boots, whether meals are available, the kitchen's opening hours and the payment terms. Do not dry gear right next to a very strong heat source unless the manufacturer says it is fine.
How to match your winter kit to the route
Before packing, find out:
How to match your winter kit to the route
- type of terrain
- slope angle
- altitude and exposure
- current state of the snowpack
- whether there is ice
- avalanche danger
- expected temperature and wind strength
- walking time in winter conditions
- a way to cut the route short safely
- the competence of everyone in the group
Do not choose a route to fit gear you bought before the trip. First assess conditions and skills, then choose the destination and kit. If you cannot tell whether the terrain needs crampons, an ice axe or avalanche kit, that is an important sign to pick a simpler route or get help from a specialist.
Planning your time, a turn-back option and the bulletins is covered in the guide how to prepare for a mountain trip.
Standard things for a mountain trip
For the trail, pack what you may need while walking: a spare layer, a second pair of gloves, a head torch, a map, food, a flask, a power bank and gear chosen for the route.
The full kit for a trip of several days is in the guide Mountain packing list: what to take on a trip. Here we focus on the extra gear you need on a winter trail.
Heading mainly for the slopes? Use the checklist What to pack for a ski trip: list for adults and children. It covers lift passes, ski clothing and the gear you need on prepared pistes.
Common mistakes before a winter hike
- Microspikes must fit your particular boots, and a model bought at random can slip off while you walk.
- Crampons and an ice axe need prior learning and practice in safe conditions.
- Other hikers' footprints do not prove the route goes the right way or that it is safe.
- A forecast for a village in the valley does not describe conditions high in the mountains.
- A low avalanche level still means choosing your route with care and watching the terrain.
- Your plan should leave spare time before dark, rather than assuming you will be back exactly at sunset.
- A head torch, a map and an extra portion of food are part of your safety margin, not dead weight.
- New gear does not replace experience, and is no reason to pick harder terrain.
How to set up a winter checklist in BuyNest
Create a list without stores and use it as a checklist before you set off. Put on it the things to pack and tasks such as checking the avalanche bulletin, charging your phone and giving your route plan to someone close. You can share the list with the other people on the trip, and when someone adds or ticks off an item, everyone sees the change on their phone.
Prepare a winter hike checklist in BuyNest, share it with the people you are going with, and save it as a template when you are back. On your next trip you can reuse a proven list and adapt it to the new route. All without ads, even in the free version of the app.
Frequently asked questions
Are microspikes enough in the mountains in winter?
Only on routes and in conditions they are suited to. Microspikes do not replace crampons in steep terrain and do not protect you from avalanche danger.
Can I buy crampons without special boots?
The type of crampon has to match the construction of the boot. Check the fit before you set off. Demanding models and terrain also call for learning how to use them correctly.
Do I need an ice axe as well as crampons?
In steep, icy terrain crampons are used together with an ice axe, but the right set depends on the route. Both need training and practice.
Is avalanche danger level 1 safe?
Level 1 does not mean no danger. The bulletin gives the general picture, and local conditions can vary. You still have to match the route to your experience and be able to assess the terrain.
Can I use summer walking times in winter?
A summer walking time can be too optimistic in winter. Snow, ice, strong wind, putting on gear and the shorter day can lengthen a trip a lot.
Is a phone with a map enough?
An offline map on your phone is useful, but cold can drain the battery faster. Take a power bank, keep devices away from damp, and consider a paper map as an independent backup.
Winter gear has to match your skills
A complete list does not make you safe by itself. In winter the key things are choosing the right route, up-to-date information on conditions and the ability to use the gear you carry. If the terrain is beyond your experience, choose a simpler option, a course or a trip with a qualified guide.
Sources
Take the shopping into BuyNest
BuyNest is on iPhone and Android. The app has no ads, including on the free plan.